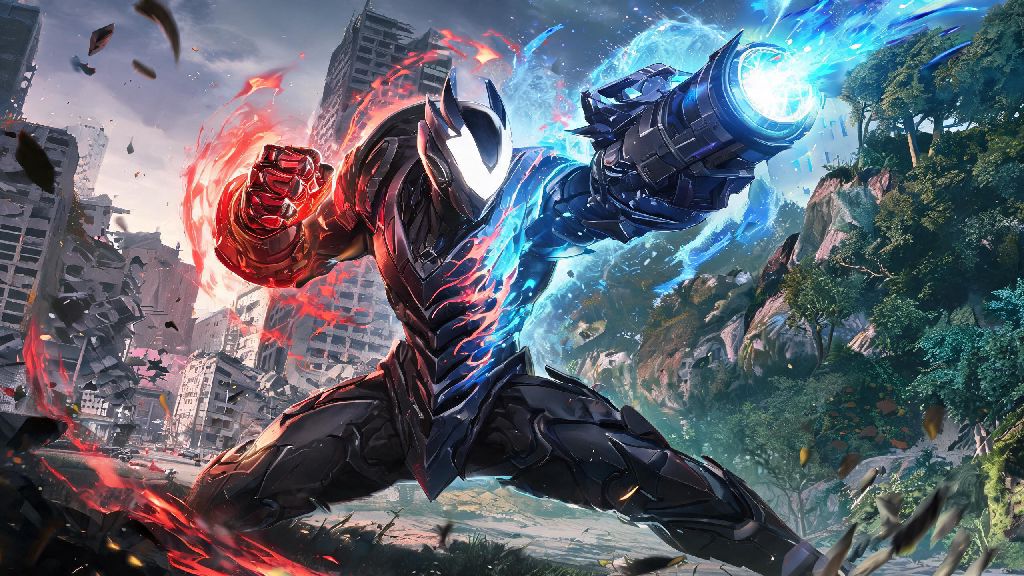
If you’ve spent any amount of time grinding through Arknights Endfield’s open-world zones or challenging instanced boss fights, you’ve probably seen other players rave about one specific 6-star unit. Arknights Endfield Monst3r is easily one of the most hyped and versatile characters added to the game so far, with a unique swap between melee and ranged combat that lets him fit into almost any team composition. A lot of new players write him off as too complicated to use, though, because his core mechanics aren’t explained very well in the in-game tutorial. This guide breaks down everything you need to know to make the most of this powerful unit, no matter your playstyle or account progression level.
Arknights Endfield Monst3r Core Ability Breakdown
Monst3r’s biggest strength comes from his form-swap mechanic, which toggles automatically based on his built-in charge bar that fills as he deals and takes damage. You don’t have to manually trigger the swap, but you can control how fast the bar fills based on which skills you use, so it pays to understand how each ability interacts with his form. His passive “Originium Adaption” is the foundation of his entire kit: it lets him ignore 30% of enemy elemental resistance when he’s in melee form, and 20% physical resistance when he’s in ranged form. That might not sound like a huge buff on paper, but it makes him viable against every enemy type in the game, even the high-resistance endgame bosses that shut down most other carry units.
His first skill, Rapid Barrage, is a low-cooldown ability that fires three quick ranged shots, each dealing 120% of his base attack damage. It’s not the most flashy skill, but it fills his charge bar 2x faster than regular attacks, so it’s perfect for quickly swapping him to melee form when you need to burst down an elite enemy. His second skill, Overcharge Strike, is his primary burst option: it deals 450% attack damage to a single target plus 200% splash damage to adjacent enemies, but it locks him into melee form for 3 seconds after casting. You have to time this skill carefully, because he can’t swap back to ranged to avoid incoming damage during that lock window. His third skill, Area Suppression, locks him into ranged form for 10 seconds, and every attack hits up to 3 separate enemies for 180% base damage. The only catch is if you cast it more than twice in a row, he gets a 5-second stun penalty that leaves him completely vulnerable to attacks.
Optimal Monst3r Builds for Every Playstyle
Monst3r works for two distinct playstyles, so you don’t have to follow a single one-size-fits-all build to get value out of him. The first build is the burst carry build, which is the best pick if you’re using him as your primary damage dealer for all content. For this build, prioritize attack percentage and critical damage substats on all of his gear pieces, and avoid wasting upgrade materials on HP or defense rolls entirely. He’s a glass cannon by design, so trying to make him tanky just wastes his potential. The best artifact set for this build is the Originium Striker set, which gives a 15% extra damage buff to any enemy below 50% health, stacking perfectly with his melee form elemental resistance ignore.
The second build is the support carry build, which works great if you already have a primary magic damage carry on your team. For this build, you’ll want to stack skill cooldown reduction and team buff substats, and use the Field Support artifact set that gives your entire team a 10% attack boost whenever Monst3r is in melee form. This build doesn’t deal as much raw damage, but it makes your entire team stronger, which is perfect for long open-world exploration runs where you don’t want to swap out units constantly.
No matter which build you pick, these three gear pieces are non-negotiable for getting the most out of Monst3r:
All three of these pieces drop from the mid-game Ruined Factory dungeon, so you can farm them even as a free-to-play player without spending any premium currency. You don’t need to get perfect substats right away, even the base versions of these pieces will make a huge difference in his performance.
Best Team Comps to Pair With Monst3r
Monst3r is flexible enough to work with almost any team, but there are a few compositions that bring out his full potential without forcing you to rely on rare 6-star units. For general open-world exploration, the best comp pairs Monst3r as the main carry with a 4-star shielder like Cuora, a 4-star healer like Myrrh, and a fast AoE unit like Kroos to clear small mobs while Monst3r builds his charge bar. This comp is extremely low-investment, works for every open-world zone, and you don’t have to swap units around for random elite enemy encounters. You never want to run Monst3r without at least one dedicated healer, even if you’re running a tankier support build, because his low base defense means he can get one-shot by heavy boss attacks if he’s not being healed consistently.
For endgame boss fights, you’ll want to swap out the AoE unit for a buffer like Saria, who can give Monst3r a 30% defense buff and 20% skill damage buff whenever he’s in melee form. That buff makes his Overcharge Strike hit hard enough to delete most boss weak points in one cast, cutting down fight time by almost 40% in most cases. If you don’t have Saria, the 4-star unit Nearl works almost as well, as her defense buff covers Monst3r’s biggest weakness during his melee form lock window.
You don’t want to pair Monst3r with other units that rely on charge bar mechanics, though. Units like Blaze share the same charge resource as Monst3r in team combat, so you’ll end up slowing down both of their form swaps if you run them together. Stick to units that use their own individual skill cooldowns, and you won’t run into any issues.
Common Monst3r Playstyle Mistakes to Avoid
A lot of new players struggle with Monst3r not because he’s weak, but because they make small, easily fixable mistakes that cripple his performance. The most common mistake is spamming Area Suppression nonstop for the AoE damage. It’s tempting to use the skill every time it comes off cooldown, but the stun penalty from overusing it will get him killed in almost every tough fight, especially against bosses that have targeted burst attacks. Try to alternate between Overcharge Strike and Area Suppression instead, so you never build up more than one stack of the stun penalty.
Another common mistake is positioning him in the middle of enemy mobs without a shielder in front of him. His melee form has a short range, so a lot of players put him right next to enemies to deal damage, but he can only take 2 or 3 heavy hits before going down. Even if you’re using his burst build, keep him behind your shielder at all times, and only move him forward right before you cast Overcharge Strike. You should always swap to melee form when fighting elite enemies, even if you’re using the ranged-focused support build, because the elemental resistance ignore makes a huge difference in how fast you can take them down.
The last big mistake players make is upgrading the wrong skills first. A lot of guides tell you to max Area Suppression first for the AoE clear, but Overcharge Strike is far more useful for 90% of game content, from boss fights to elite enemy encounters. Max Overcharge Strike first, then Area Suppression, then Rapid Barrage, and you’ll get way more value out of your skill upgrade materials.
Even with his slightly steep learning curve, Arknights Endfield Monst3r is easily worth the investment of time and upgrade materials, no matter what type of content you prefer to play. He works for both low-investment free-to-play accounts and fully stacked whale accounts, and he’s one of the only units that stays viable from the early game all the way to the hardest endgame content. Don’t get discouraged if he feels clunky the first few times you use him, once you get the hang of his form swap timing and skill rotation, he’ll quickly become the star of your team.